All Categories
Step-by-Step Guide: How to Execute 3D Printer Projects Like a Pro
2025-04-26 11:41
Step-by-Step Guide: How to Execute 3D Printer Projects Like a Pro
Table of Contents
- 1. Introduction to 3D Printing
- 2. Understanding 3D Printing Technologies
- 3. Essential Tools for 3D Printing Projects
- 4. The Preparation Phase: Setting Up Your Project
- 5. Designing Your 3D Model: Tips and Software Recommendations
- 6. Slicing Your Model: Choosing the Right Settings
- 7. Printing Your Project: Best Practices
- 8. Post-Processing Techniques for a Perfect Finish
- 9. Troubleshooting Common 3D Printing Issues
- 10. Conclusion
- 11. Frequently Asked Questions (FAQs)
1. Introduction to 3D Printing
3D printing, also known as additive manufacturing, represents a revolutionary advancement in the world of technology and design. It allows users to create three-dimensional objects from digital files, offering unparalleled flexibility and creativity. From prototypes to custom designs, the possibilities are nearly endless. This guide aims to equip you with the knowledge and skills necessary to confidently embark on your 3D printing projects, ensuring you can execute them like a seasoned professional.
2. Understanding 3D Printing Technologies
The first step in mastering 3D printing is understanding the various technologies available. Each method has its unique strengths and applications:
2.1 Fused Deposition Modeling (FDM)
FDM is one of the most common and accessible 3D printing technologies. It works by extruding melted thermoplastic through a nozzle to build up layers. This method is ideal for beginners due to its affordability and ease of use.
2.2 Stereolithography (SLA)
SLA employs a laser to harden liquid resin layer by layer. This technology provides highly detailed prints but requires more post-processing work. It is perfect for intricate designs and prototypes where precision matters.
2.3 Selective Laser Sintering (SLS)
SLS uses a laser to fuse powdered material into solid structures. This method supports a range of materials, including plastics and metals, making it suitable for functional parts and small production runs.
2.4 Digital Light Processing (DLP)
Similar to SLA, DLP uses a light source to cure resin. However, it projects an entire layer at once, resulting in faster print times. This technology is excellent for producing high-resolution models quickly.
3. Essential Tools for 3D Printing Projects
To ensure successful 3D printing projects, having the right tools is crucial. Here's a list of must-have tools:
3.1 3D Printer
Choose a printer that fits your needs and budget. Popular brands include MakerBot, Prusa, and Creality, each offering various models catering to different skill levels.
3.2 Slicing Software
Slicing software is essential for converting 3D models into instructions your printer can understand. Programs like Cura, PrusaSlicer, and Simplify3D are widely used and offer extensive options for customization.
3.3 Design Software
Familiarize yourself with design software such as Tinkercad, Fusion 360, or Blender. These programs enable you to create and modify 3D models according to your specifications.
3.4 Calibration Tools
Proper calibration is critical for achieving high-quality prints. Invest in tools like a digital caliper, bed leveling tools, and filament guides to enhance your printing accuracy.
4. The Preparation Phase: Setting Up Your Project
Before diving into your first print, it's vital to prepare adequately. Here are key steps to follow:
4.1 Assess Your Project Requirements
Define the purpose of your project. Will it be a prototype, a decorative item, or a functional object? Identifying the end goal will guide your decisions throughout the process.
4.2 Gather Materials
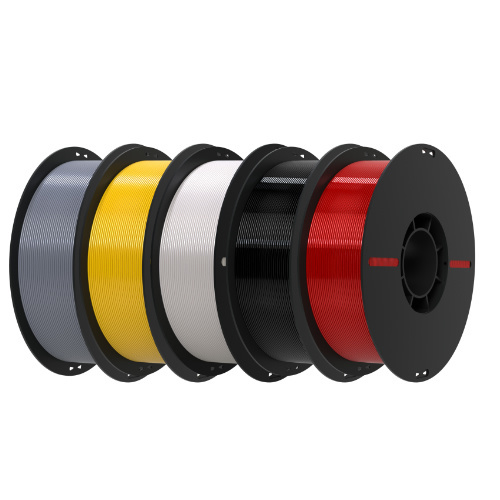
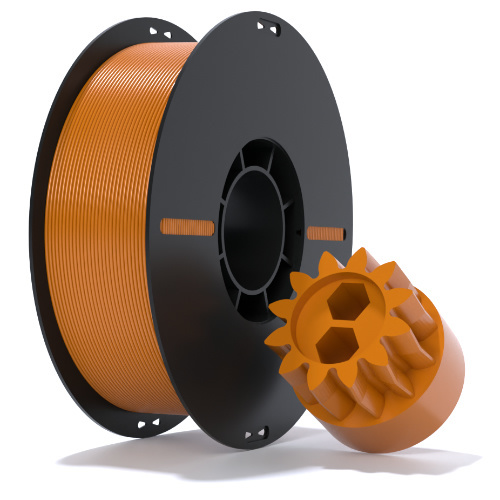
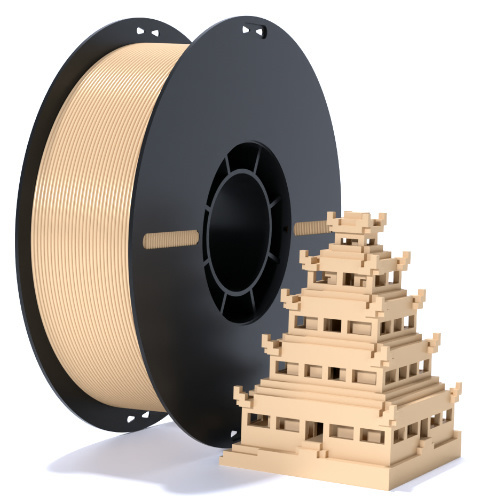
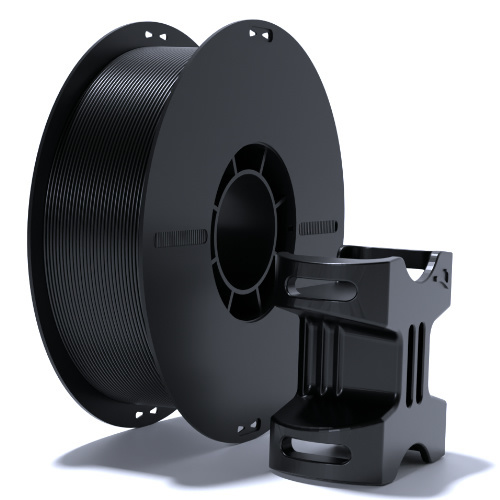
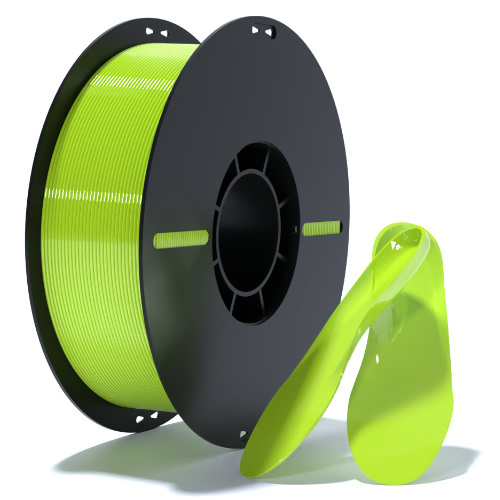
Select the appropriate materials based on your project’s requirements. PLA and ABS are popular choices for FDM printing, while resin is necessary for SLA projects. Ensure you have enough material to complete your print.
4.3 Prepare Your Workspace
Create a dedicated workspace that is clean, well-lit, and organized. A clutter-free environment will help you focus and minimize the risk of accidents.
5. Designing Your 3D Model: Tips and Software Recommendations
Designing your own 3D model opens up a world of creativity. Here’s how to get started:
5.1 Choose the Right Software
Depending on your skill level, select software that best suits your needs. Tinkercad is great for beginners, while Fusion 360 offers advanced features for experienced users.
5.2 Start with Templates
If you’re new to 3D design, consider starting with templates. Many platforms offer pre-designed models that you can modify to fit your specifications.
5.3 Focus on Geometry
While designing, pay close attention to geometry. Ensure the model is manifold (watertight) to avoid printing errors. Also, consider adding supports for overhangs.
5.4 Test Print Your Design
Before committing to a full-scale print, run a test print of a smaller version of your design. This will help you identify any issues and make necessary adjustments.
6. Slicing Your Model: Choosing the Right Settings
Once your design is ready, the next step is slicing it to prepare for printing. Here’s what you need to know:
6.1 Select Slice Settings
Choose appropriate settings such as layer height, infill density, and print speed. For intricate designs, a smaller layer height may be beneficial, while a higher infill density provides better strength.
6.2 Preview the Print Path
Most slicing software includes a preview feature. Utilize this to visualize how the printer will execute the print, checking for potential issues.
6.3 Adjust Supports and Rafts
If your model has overhangs, enable support structures. Additionally, depending on your printer and material, you may want to use a raft for better adhesion to the print bed.
7. Printing Your Project: Best Practices
With everything set up, it’s time to print. Follow these best practices to ensure a successful print:
7.1 Calibrate the Printer
Before starting, calibrate your printer to ensure accuracy. This includes leveling the print bed and checking nozzle height.
7.2 Monitor the First Layer
The first layer is crucial for a successful print. Watch closely to ensure it adheres properly to the bed. Adjust settings if necessary to improve adhesion.
7.3 Stay Nearby
If possible, stay nearby while your project prints. This way, you can catch any issues early, such as filament jams or print failures.
8. Post-Processing Techniques for a Perfect Finish
After your print is complete, post-processing is essential for achieving a professional look. Here are some techniques to consider:
8.1 Removing Supports
Carefully remove any supports. Use pliers or a craft knife to avoid damaging the model.
8.2 Sanding and Smoothing
Sanding is an effective way to smooth out surfaces. Use different grits of sandpaper to achieve the desired finish. For plastic prints, consider using a heat gun for additional smoothing.
8.3 Painting and Finishing
Add color and personality to your prints using paints or finishes. Acrylic paints work well for most materials. Seal your model with a clear coat to enhance durability.
9. Troubleshooting Common 3D Printing Issues
Even experienced users encounter challenges. Here are common issues and solutions:
9.1 Warping
Warping can occur with certain materials. To mitigate this, ensure your print bed is heated and consider using an adhesive such as glue stick or hairspray.
9.2 Filament Jams
If you experience filament jams, check the extruder and ensure the filament is loaded correctly. Clean the nozzle if necessary.
9.3 Layer Separation
Layer separation may occur due to insufficient adhesion. Increase the bed temperature and ensure the nozzle temperature is adequate for the material used.
10. Conclusion
Executing 3D printer projects like a pro involves understanding the technology, preparing thoroughly, and mastering the design and printing processes. By following this comprehensive guide, you are well on your way to bringing your creative visions to life with confidence and skill. Embrace the challenges, enjoy the process, and watch as your ideas take shape in the amazing world of 3D printing.
11. Frequently Asked Questions (FAQs)
11.1 What is the best material for beginners in 3D printing?
PLA is often recommended for beginners due to its ease of use, low odor, and good print quality.
11.2 How long does it take to print a 3D model?
Print times vary based on model complexity and printer settings, ranging from a few hours to several days.
11.3 Can I print using different types of filaments on the same printer?
Yes, most printers can use multiple filament types, but ensure your printer is compatible with the materials you choose.
11.4 Do I need a heated bed for 3D printing?
While not mandatory, a heated bed helps improve adhesion and reduce warping, especially with materials like ABS.
11.5 What are some common mistakes to avoid when 3D printing?
Common mistakes include inadequate bed leveling, using the wrong temperature settings, and neglecting to calibrate the printer properly.
By following this guide, you can transform your 3D printing projects from mere ideas into tangible creations. With practice and patience, you will become proficient in executing projects like a true professional.
3d printer projects
Recommended News
language
English
العربية
বাংলাদেশ
Български
Hrvatski
Česky
Dansk
Nederland
 Esperanto
Slovenski
Filipino
Suomi
Français
Maori
 Shqiptare
Georgian
 Euskara
Deutsch
Ελλάδα
ישראל
इंडिया
Magyarország
Ísland
Indonesia
Irlanda
Italia
日本語
Sovensko
Հայաստան
한국
Kyrgyz
ປະເທດລາວ
 Zulu
Zulu
Latvian
Lithuanian
Luxembourgish
 Latinus
Macedonian
Малайская
Maltese
Монгол улс
 Cymraeg
ဗမာ
 தமிழ்
தமிழ்
नेपाल
Norge
ایران
Polska
Portugal
România
Российская
Србија
 Slovak
Србија
 Slovak
Bosanski
Slovenian
Беларус
España
Sverige
Точик
ประเทศไทย
Türk
Azərbaycan
Uzbek
 Afrikaans
Việt Nam
Skype / WhatsApp: +86 592-5713513 / +86-13860126490
No.88-3, North Tongji Road, Xike County, Tong'an District, Xiamen, Fujian China
Xiamen Goofoo Technology Co., Ltd. All Rights Reserved 闽ICP备2022008070号-1 SEO 300.cn
Phone:+0086 592-5713513
Address: No.88-3, North Tongji Road, Xike County, Tong’an District, Xiamen, Fujian China
Email: sales@goofoo3d.com
We will give you feedback in time

